Why Cold Weather and RVs Don’t Mix
Here’s the thing about freezing weather: your RV hates it. When water freezes, it expands. And when it expands inside your pipes and tanks, it’s basically trying to hulk-smash its way through. End result? Cracked tanks, busted fittings, and plumbing leaks you won’t discover until the first warm day when you’re standing in a puddle wondering what the heck that smell is.
And let’s not forget the batteries. Leave them out in the cold and they’ll lose charge faster than your phone when you forget to close TikTok. Plus, moisture sneaking into seams and unventilated areas is just asking for mold. You know that funky smell in your buddy’s camper? Yeah, that’s what happens when you skip winter prep. And if all that wasn’t enough, mice see your undercarriage as the Ritz-Carlton of rodent housing.
So, you’ve got two options: either spend a weekend winterizing, or fork over a pile of cash for spring repairs. Spoiler alert: winterizing wins every time.
Step One: Check How Cold You Really Get
This is not a one-size-fits-all thing. If you’re living in Arizona, your RV prep is basically “dust it off and crack a beer.” But for the rest of us in places where the temperature dips below 32°F for days on end? Yeah, you need to go full prep mode.
Elevation matters too. High-altitude spots freeze earlier and stay frozen longer. Mountain campers know what I’m talking about—you can be sunburnt in the afternoon and scraping frost off the windshield that night. So before you even buy supplies, check your local freeze map or frost line data. That’ll tell you just how aggressive you need to be.
Tools You’ll Want Before You Start
Let’s be real: half the battle of winterizing is making sure you don’t have to run back and forth to Home Depot twelve times. Here’s the gear list with some straight talk on why you need it:
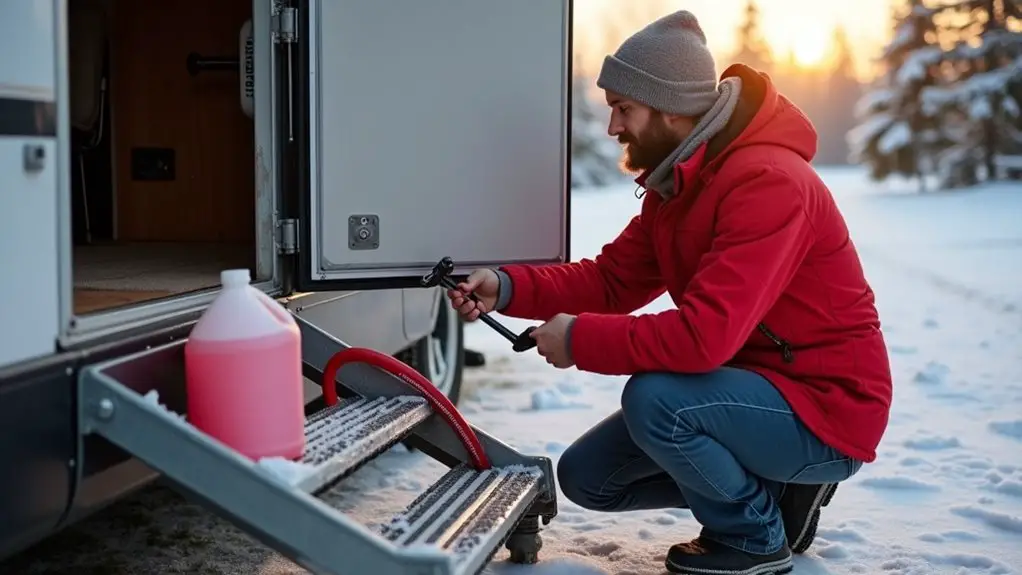
- Propylene glycol antifreeze (the pink stuff): Safe for RV plumbing. Don’t even think about pouring car antifreeze in your system unless you want to poison yourself.
- Blow-out plug: Screws into your city water inlet so you can hook up an air compressor and push the water out. Without it, you’re just blowing air at nothing.
- Air compressor: Keeps you from playing Russian roulette with leftover water in the lines. Set it at 30–40 PSI. Anything higher and you’re more likely to blow a fitting than save it.
- Water heater bypass kit: Saves you gallons of antifreeze. If you don’t bypass, you’ll waste antifreeze filling that giant heater tank.
- Funnel (non-scratch): Because antifreeze stains and you don’t want to scratch up your sink while you pour it down.
- Pipe insulation wrap: Cheap, easy, and keeps those exposed lines from freezing. It’s basically a sweater for your pipes.
- RV sealant or lap tape: Patch up cracks, seams, and leaks before they turn into something worse.
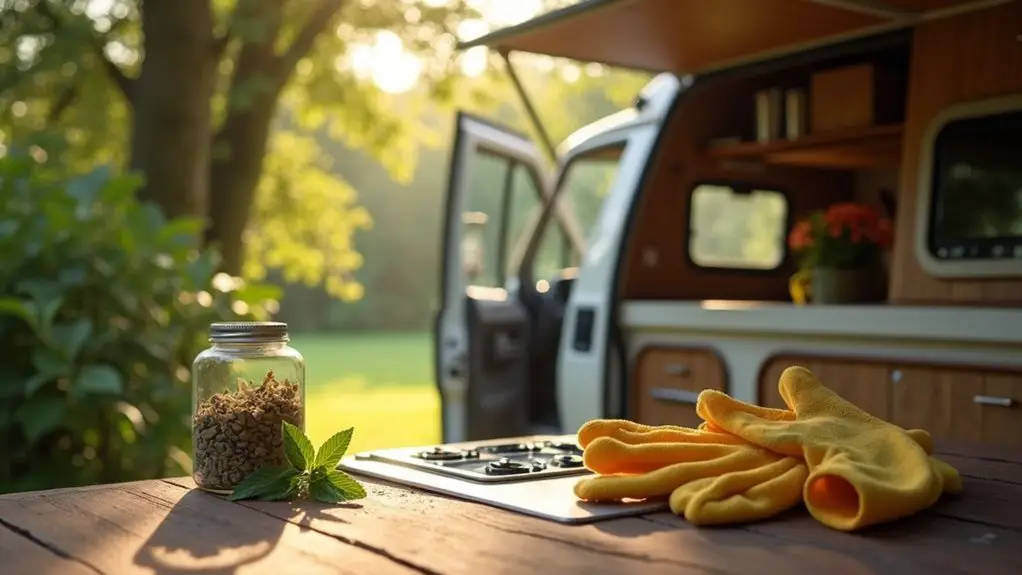
- Gloves and goggles: Antifreeze isn’t deadly, but it’ll still dry out your skin and sting your eyes. Nobody wants that.
- Battery maintainer: Keeps your deep-cycle batteries charged at a slow trickle while in storage. Beats pulling out a dead battery come spring.
Trust me, the $100 you spend on these will save you at least ten times that in repairs.
Water System Protection: The Meat and Potatoes

This is the part everybody dreads, but it’s the most important. Take your time, do it right, and you’ll thank yourself later.
Draining All the Tanks
You’ve got three: fresh, grey, and black. Drain them all. Open those low-point drains and tank valves, and let gravity do the heavy lifting. If your black tank has a flush system, use it. That leftover sludge doesn’t just sit there—it’ll stink, freeze, and maybe even crack your tank. Don’t ask me how I know.
Water Heater Bypass and Drain
Find your water heater access panel inside. There should be bypass valves—turn those so antifreeze doesn’t fill the heater. Then, open the pressure relief valve, pop the drain plug or anode rod, and let that sucker empty out. Remember: water expands when it freezes. An undrained heater is a ticking time bomb.
Blow-Out with Air Compressor
Screw in that blow-out plug, set your compressor to 30–40 PSI, and push air through the system. Start with the faucet furthest from the compressor. Open hot and cold taps until water stops spitting. Don’t forget the shower, outside spray port, and toilet. You’d be surprised where water likes to hide.
Pump in the Antifreeze
Next, it’s time for the pink stuff. Use a winterization kit or feed it through the pump intake manually. Run it through every faucet, hot and cold, until you see pink coming out. That’s how you know the lines are safe.
Then, pour about a cup down every drain and into the toilet. Flush the toilet once so antifreeze gets into the black tank seal. Otherwise, you’re looking at a cracked toilet base. And nobody wants to shop for toilets in March.
Don’t Skip the Extra Fixtures
Got an ice maker, dishwasher, or washer-dryer in your rig? Each of those is a hidden trap for water. Look up the manual, find the drain points, and run antifreeze through their cycles. Skip it and you’ll be buying new appliances in the spring.
Disconnect outside hoses, regulators, and water filters too. Those things will freeze and crack just as easily as the main plumbing. If you’re planning winter camping, swap them for heated hoses and wrap exposed pipes in insulation foam.
Sealing and Protecting the RV Body
Think of this as weatherproofing a house.
- Roof: Walk the roof, check seams, vents, and skylights. Anything that looks like it could leak? Hit it with butyl tape or self-leveling sealant.
- Windows and doors: Caulk cracks, test seals, and make sure they shut tight.
- Slide-outs: Extend them fully, clean the rubber seals, then lube them with a silicone conditioner so they don’t dry out. Check gaskets for gaps or rot. Add wipers if needed.
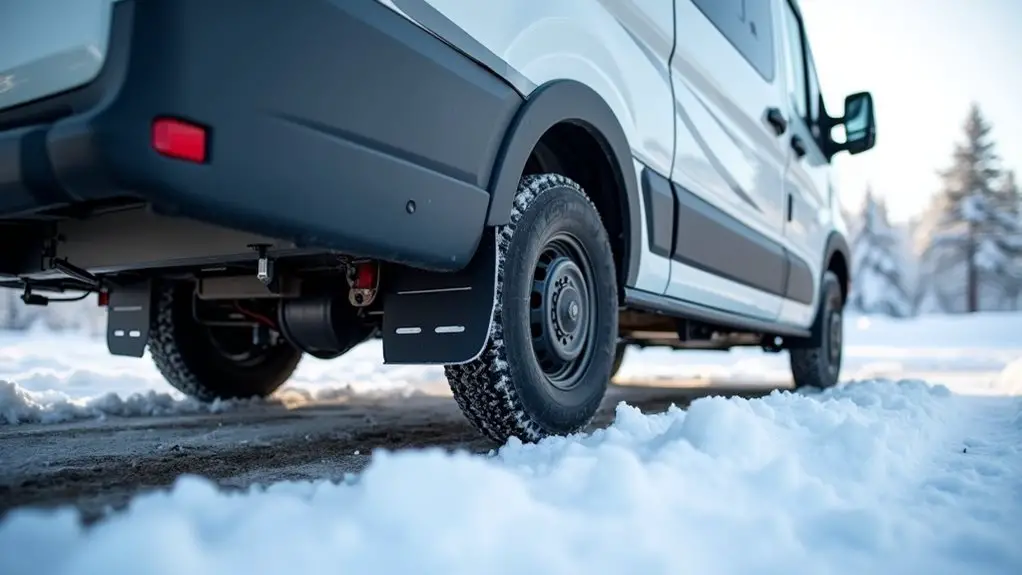
- Undercarriage skirting: Throw on skirting panels—vinyl, foam, or modular panels. Keeps heat in, rodents out. Double-check wheel wells and service ports; those little gaps are mouse superhighways.
Electrical and Propane Systems
Batteries: If possible, take them inside. If not, hook up a maintainer or a solar charger. Clean the terminals and smear on dielectric grease. Corrosion ruins connections faster than you think.
Propane: Shut off every valve, check hoses for cracks, and use soapy water to test fittings for leaks. Cap the open lines and protect exposed valves with covers.
Power system: Turn all breakers off, unplug shore power, and inspect outlets. Seal up cable entry points so mice don’t turn your panel into their nesting spot.
Heating and Insulation
Furnace: Clear dust and cobwebs from intake and exhaust. Fire it up once to make sure it still works, then shut it down.
Tank pads and heat cables: Slap these on exposed tanks and pipes if you’re doing winter camping. Test them before sealing up access panels.
Draft blocking: Throw reflective insulation on windows, thermal curtains inside, and foam plugs in vents. Just don’t seal everything airtight or you’ll trap condensation and grow your own rainforest inside the RV.
Moisture and Rodents
Moisture equals mold. Rodents equal chewed wires and ruined insulation. Both are nightmares.
Crack a roof vent slightly so air flows. Toss desiccant bags in every cabinet and corner. Vacuum every crumb, clean out all food, and empty cabinets. Crawl under and look for entry holes. Stuff them with steel wool, foam spray, or mesh screens. Throw in peppermint oil or rodent repellent packs. Do they work 100%? No. But it sure beats giving a mouse a free condo.
Final Walkthrough Before You Walk Away
Don’t just assume you’re done. Walk through the checklist. Valves closed? Antifreeze visible in traps? Detectors tested? All storage bays locked? Tires covered? RV cover on (not a tarp, unless you enjoy trapped moisture and mildew)?
Release pressure off the leveling jacks too. Long-term stress on them isn’t worth it. And if you can, park on gravel or concrete—better than letting your rig sit in mud all winter.
Mid-Winter Babysitting
Once a month, go check on it. I know, it’s cold, but trust me. Look for battery charge, snow piled on the roof, propane levels, tire pressure, and signs of frost damage or pests. Wipe down interior surfaces if moisture builds up. A few minutes of maintenance saves weeks of headaches later.
When Spring Finally Shows Up
Congrats, you survived. Now reverse the process. Drain out the antifreeze and flush with fresh water. Reconnect and charge your batteries. Open the propane and check for leaks again. Fire up all appliances—fridge, furnace, A/C—to make sure winter didn’t kill them. Patch any new cracks, leaks, or seam gaps you find. Think of it as waking the RV up from hibernation.
FAQ (with Myth-Busting, Because Bad Advice Is Everywhere)
Do I have to use antifreeze?
The short answer: no. You can blow out the lines with an air compressor and be fine—if you do it perfectly. But here’s the thing: perfection doesn’t usually happen when you’re standing in 30-degree weather, rushing through it so you can go inside and warm up. Water hides in low spots and weird bends, and that’s where freeze damage happens. Antifreeze gives you backup protection.
Myth-busting: There’s always one guy who says, “I never use antifreeze, and I’ve never had a problem.” Translation? He’s been lucky. That’s not a strategy. That’s gambling. Sure, maybe you’ll get away with it one year, but the year you don’t? Congratulations, you’re buying new pipes and fittings.
How long does this take?
If you’ve done it before, you can knock it out in 1–2 hours. First-timers? Expect longer. You’ll be chasing down which valve does what, watching YouTube tutorials, and arguing with yourself about which way to turn a knob. Once you get the hang of it, though, it’s no big deal.
Myth-busting: Some folks will tell you, “Winterizing takes all day, it’s a nightmare, you need a pro.” Nope. You don’t need to be a certified RV tech. You just need the right tools and a couple of brain cells to follow the steps. If you can change your own oil or grill a burger without burning it, you can winterize your RV.
When does freeze damage actually start?
It doesn’t need to be Arctic cold. Prolonged temps under 32°F will do the trick. One quick night dip into freezing? Probably fine. But if the forecast says multiple nights under 32°F, you’re officially on borrowed time.
Myth-busting: People love to say, “Ah, it’s fine unless it gets below zero.” Wrong. Absolute myth. Zero degrees is where you start freezing your rear end off. Pipes, on the other hand, are already in trouble way before that. Don’t wait for single digits to do your prep.
Should I pull the battery out?
Yes. Cold weather drains batteries faster than your teenager drains your fridge. Bring it inside, hook it to a maintainer, and save yourself from buying a new one in the spring. If you don’t want to lug it out, at least hook up a trickle charger or solar setup.
Myth-busting: Some folks will tell you, “Just disconnect it, it’ll be fine.” Wrong again. Batteries don’t just stop losing charge because you unhooked a cable. They self-discharge over time, and in the cold, it happens faster. Disconnecting helps, but storing it warm and charging it right helps a whole lot more.
Is skirting really necessary?
Depends where you live. In mild climates, not really. But in any place where winter means scraping ice off your windshield every morning? Yes, skirting makes a huge difference. It blocks cold wind from whipping under your RV and freezing everything in sight.
Myth-busting: The classic line is, “Skirting is just cosmetic—it’s for looks.” Nope. It’s not about looks. It’s about physics. Cold air rushing under your rig steals heat like a thief. Skirting slows that down. Plus, it makes it harder for mice to move in. And trust me, if you think frozen pipes are bad, chewed wires from a rodent hotel are worse.
Key Takeaways (The Cliff Notes)
Drain all tanks and lines before the freeze shows up. Use antifreeze unless you like gambling with expensive repairs. Don’t wait for zero degrees—32°F over a couple nights is enough to wreck your plumbing. Pull the batteries or keep them charged, don’t just “disconnect and pray.” Skirting isn’t a fashion statement; it’s survival gear for your RV’s belly. And ignore anyone who says winterizing is “too hard”—it’s easier than you think, and way cheaper than paying for busted pipes in March.